

Cornmeal isn't an ingredient normally found in cookies, so I was really intrigued when a friend recommended this recipe. The flavor wasn't affected much, if at all, by the addition of cornmeal. These certainly aren't corn cookies. The biggest difference was in the texture, which is crisp and sandy; something between a shortbread cookie and a sugar cookie. Really the ideal texture for dunking in milk or tea. Even though I prefer my cookies to be soft and chewy, I'm definitely a fan of these cornmeal cookies! I should note, however, that my boyfriend thought these were only "OK." I couldn't disagree more. Feel free to opine and take sides :) Enjoy!
Lemon Cornmeal Cookies
(Recipe modified from MarthaStewart)
Ingredients:
1 1/2 cups all-purpose flour
1/2 cup yellow cornmeal (fine ground)
1/2 teaspoon salt
3/4 cup butter (1 1/2 sticks)
3/4 cup sugar
1 large egg
1 teaspoon lemon extract
Directions:

In a medium bowl, whisk together flour, cornmeal, and salt; set aside.

Using a stand mixer or an electric mixer, beat butter and sugar until light and fluffy. Add egg and vanilla; beat until smooth.
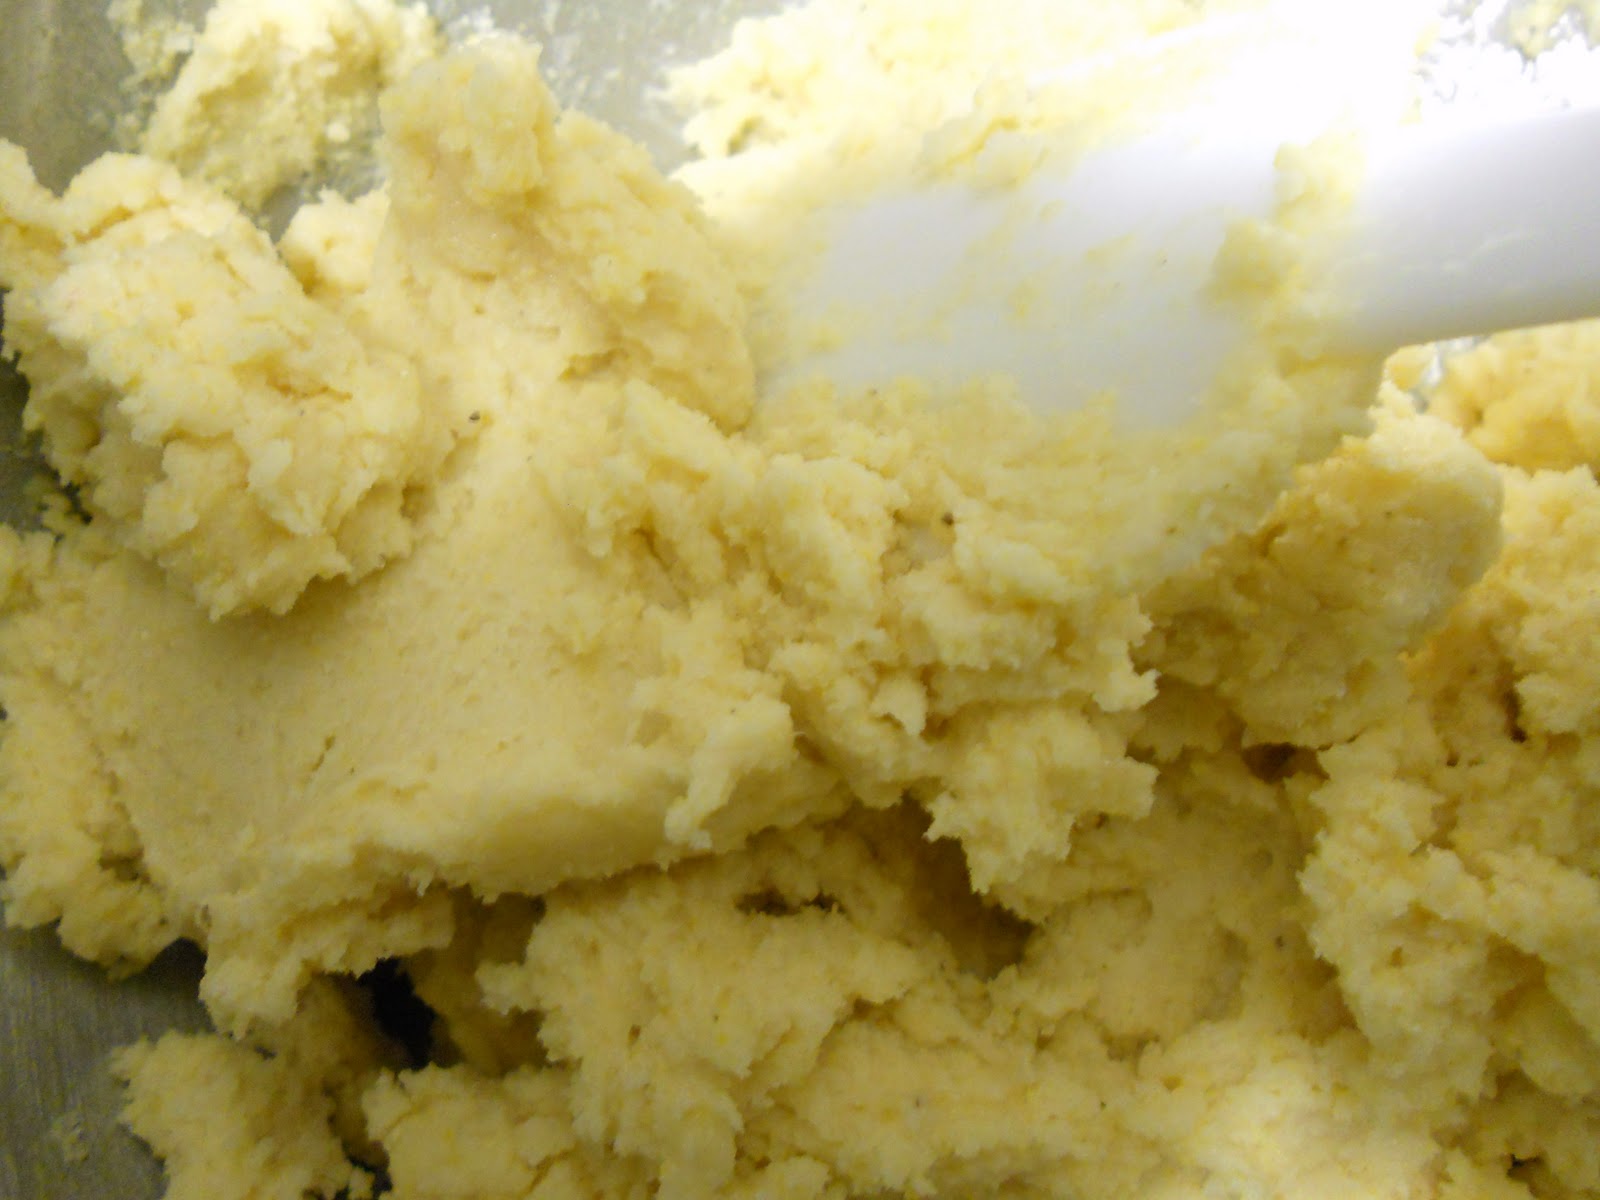
With mixer on low, gradually add flour mixture, mixing just until combined. Chill in the refrigerator for one hour.


Preheat oven to 350 degrees. Roll 1 1/2 inch balls and place, about 2 inches apart, onto two large baking sheets. Dip a fork in sugar and use it slightly flatten the cookies. Use a criss-cross pattern, like with peanut butter cookies. Bake until edges are golden, 10 to 12 minutes. Transfer cookies immediately to a wire rack; let cool completely.
(Recipe modified from MarthaStewart)
Ingredients:
1 1/2 cups all-purpose flour
1/2 cup yellow cornmeal (fine ground)
1/2 teaspoon salt
3/4 cup butter (1 1/2 sticks)
3/4 cup sugar
1 large egg
1 teaspoon lemon extract
Directions:
1. In a medium bowl, whisk together flour, cornmeal, and salt; set aside.
2. Using a stand mixer or an electric mixer, beat butter and sugar until light and fluffy. Add egg and vanilla; beat until smooth.
3. With mixer on low, gradually add flour mixture, mixing just until combined. Chill in the refrigerator for one hour.
4. Preheat oven to 350 degrees.
5. Roll 1 1/2 inch balls and place, about 2 inches apart, onto two large baking sheets.
6. Dip a fork in sugar and use it slightly flatten the cookies. Use a criss-cross pattern, like with peanut butter cookies.
7. Bake until edges are golden, 10 to 12 minutes.
8. Transfer cookies immediately to a wire rack; let cool completely.


